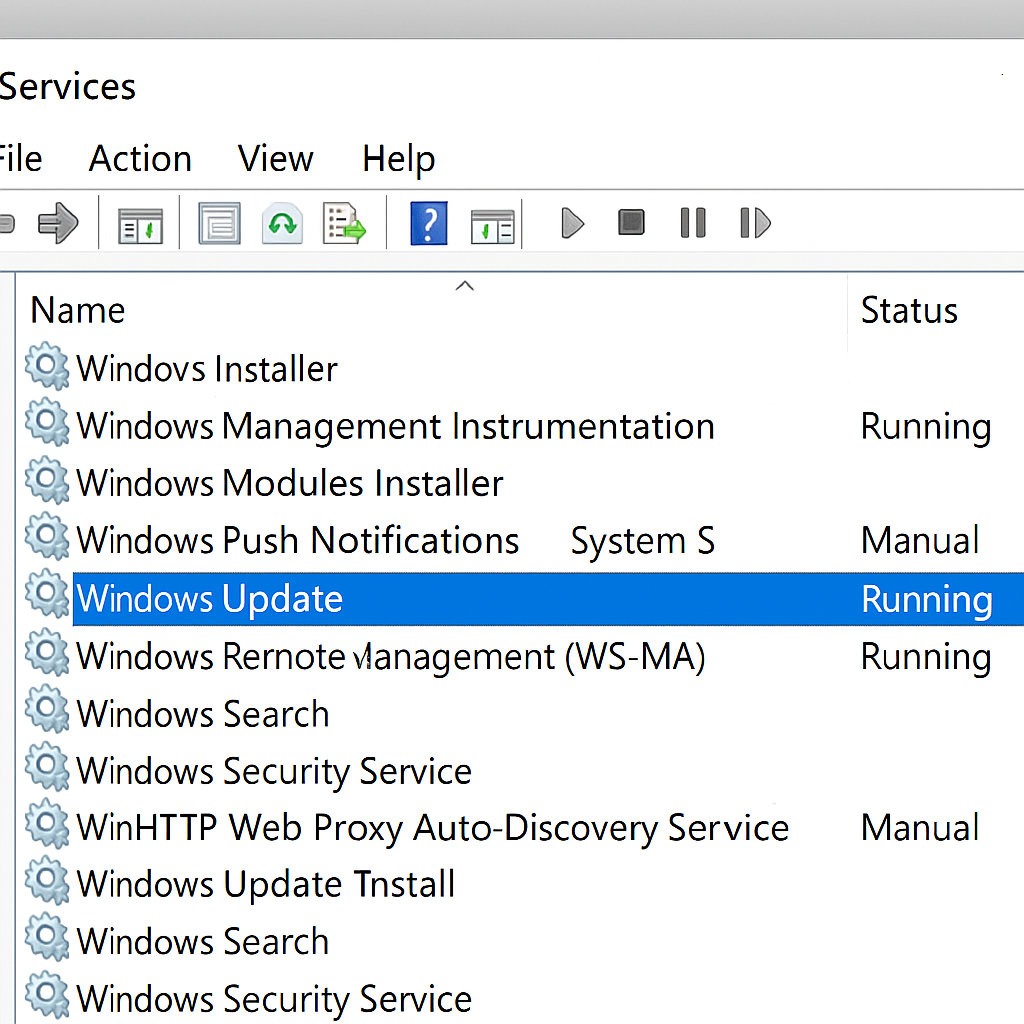
Refresh Windows 11 update cache when downloads keep failing
“My Windows 11 computer keeps showing the same failed updates in Settings, and I’ve tried downloading them multiple times. The updates either get stuck at a certain percentage or show error messages. I’ve restarted my computer several times, but the same problematic updates keep appearing. Is there a way to clear whatever Windows is storing locally and force it to download fresh update files?”
This scenario affects countless Windows 11 users who experience recurring update failures. Corrupted cache files can prevent successful installations and waste bandwidth on repeated downloads.
Clear win 11 update cache to resolve installation issues
Windows 11 stores downloaded update files and metadata in specific cache locations on your system. When these cached files become corrupted or incomplete, the update process fails repeatedly. This creates frustrating loops where the same updates appear available but never install successfully. Clearing the update cache forces Windows to download fresh files and rebuild its update database. This process resolves most update-related problems and improves system stability. The solution involves stopping Windows Update services, deleting cached files, and restarting the update mechanism.
Win11 clear update cache using built-in system tools
This tutorial demonstrates how to clear Windows 11 update cache using Command Prompt and File Explorer. The process involves stopping Windows Update services, manually deleting cache folders, and restarting services to rebuild the cache. You’ll need administrator privileges and should close all running applications before beginning.
The workflow covers service management, file deletion, and system restart procedures. Most users complete this process within 10-15 minutes depending on cache size.
Windows 11 update cache location and removal process
Open Command Prompt as administrator by right-clicking the Start button and selecting “Windows Terminal (Admin)” or searching for “cmd” and choosing “Run as administrator.”
Stop the Windows Update services by typing these commands one at a time, pressing Enter after each:
net stop wuauserv(stops Windows Update service)net stop cryptSvc(stops Cryptographic Services)net stop bits(stops Background Intelligent Transfer Service)net stop msiserver(stops Windows Installer service)
Navigate to the Windows Update cache folder by typing cd %windir%\SoftwareDistribution and pressing Enter. This directory contains all cached update files and metadata.
Delete the contents of the SoftwareDistribution folder by running rmdir /s Download to remove the Download subfolder, then rmdir /s DataStore to remove the DataStore subfolder. These folders contain the actual cached update files and database information.
Clear the Windows Update log files by navigating to cd %windir%\Logs\WindowsUpdate and running del *.log to remove all log files that might contain conflicting information.
Restart the Windows Update services using these commands:
net start wuauservnet start cryptSvcnet start bitsnet start msiserver
Close Command Prompt and restart your computer to ensure all services initialize properly with the cleared cache.
Open Windows Settings by pressing Windows key + I, navigate to “Windows Update,” and click “Check for updates” to rebuild the cache with fresh update information.

Delete update cache Windows 10 compatibility
Permission errors often occur when attempting to delete cache files while Windows Update services are running. Always stop all related services before attempting file deletion, and ensure you’re running Command Prompt as administrator. If you experience slow performance after clearing the cache, you may need to fix Windows 11 slow boot time issues which can occur after major system changes.
Network connectivity issues can prevent successful cache rebuilding after clearing files. Verify your internet connection is stable before checking for updates, and consider temporarily disabling VPN connections that might interfere with Microsoft’s update servers.
Windows Update service startup failures sometimes happen after clearing cache, especially on systems with third-party security software. If services won’t start, run sfc /scannow to check system file integrity, then try restarting services manually through Services.msc or restart your computer completely.
