Blurry or fuzzy fonts in Google Chrome can make reading web pages feel uncomfortable and significantly reduce your overall browsing experience on Windows desktops and laptops alike. Chrome relies on a combination of operating system settings, hardware acceleration preferences, and internal rendering flags to display text with sharp clarity on your screen. When any of these components fall out of alignment, you may notice that Chrome fonts look blurry, pixelated, or difficult to read compared to other applications. This article walks you through the most effective troubleshooting steps to restore crisp, clear font rendering in your Chrome browser within minutes.
Adjust Chrome display scaling settings
Windows uses display scaling to enlarge text and interface elements on high-resolution monitors, but Chrome sometimes misinterprets these values and produces fuzzy output.
- You should right-click the Google Chrome shortcut on your desktop, select Properties, navigate to the Compatibility tab, and then click the Change high DPI settings button. While working through these adjust chrome display adjustments on my computer, I found that the new configuration synchronized automatically across all signed-in profiles without requiring additional setup.
- Inside that dialog window, enable the checkbox labeled Override high DPI scaling behavior and set the dropdown to Application so Chrome manages its own scaling independently.
- This single adjustment resolves blurry font rendering for a large percentage of users who upgraded to high-resolution displays or recently changed their Windows display settings.
You can also adjust the built-in page zoom level within Chrome itself by opening Settings, scrolling down to the Appearance section, and modifying the page zoom percentage.
- Setting the zoom to exactly 100 percent ensures that Chrome does not apply any additional scaling that could interfere with sharp text rendering across websites.
- If your monitor runs at a resolution above 1920×1080, you may need to experiment with both the Windows scaling percentage and the Chrome zoom level simultaneously.
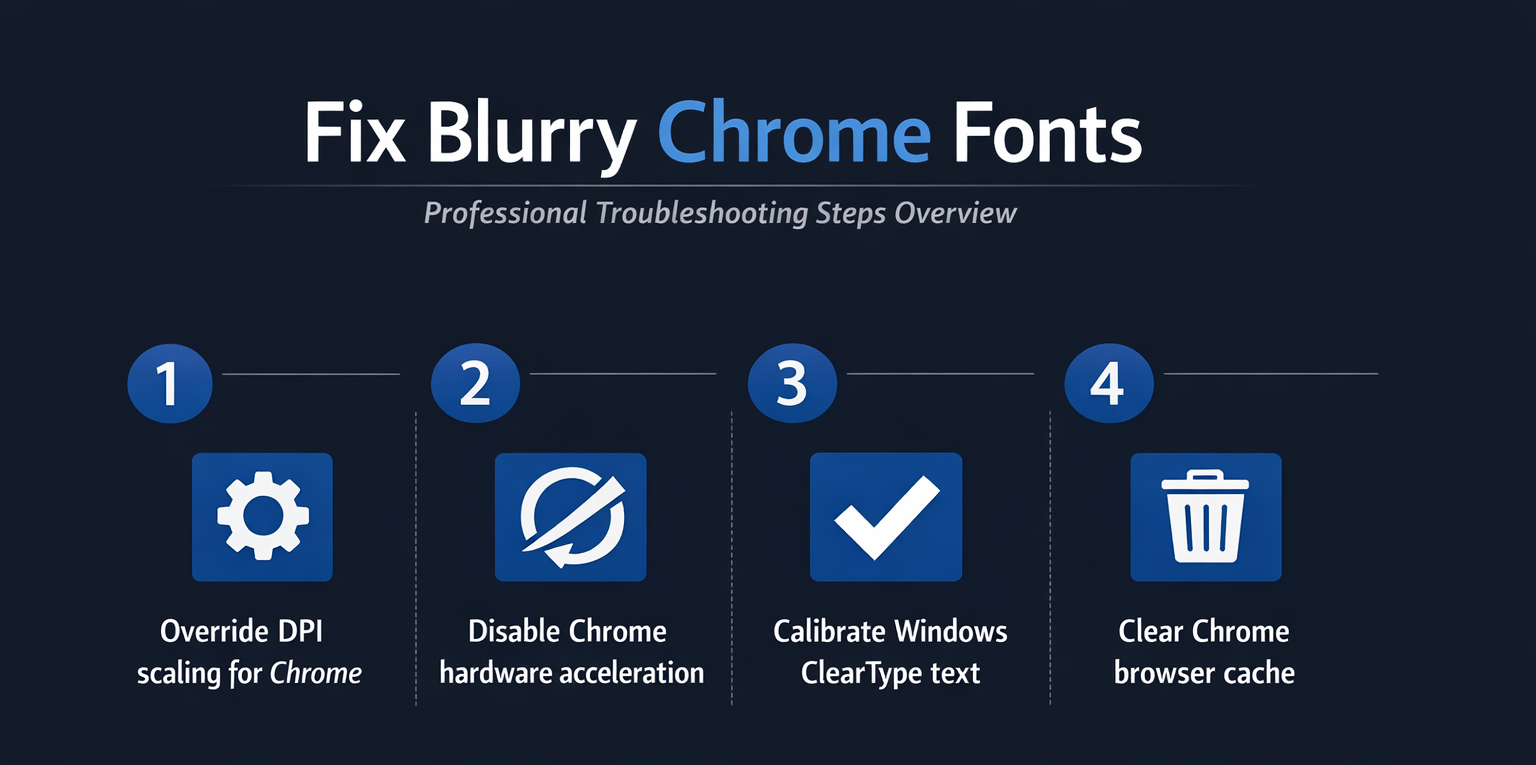
Disable hardware acceleration in Chrome
Hardware acceleration offloads graphical processing tasks from your CPU to the GPU, which can improve performance but sometimes creates blurry or fuzzy font rendering problems.
- Open Chrome, type
chrome://settingsin the address bar, scroll to the System section at the bottom, and toggle off the option labeled Use hardware acceleration when available. - Chrome will prompt you to relaunch the browser after making this change, and you should restart immediately so the new configuration takes effect properly.
After disabling hardware acceleration, navigate to several different websites and carefully compare the text clarity against what you observed before making the adjustment. Many users report that turning off this feature immediately eliminates fuzzy text rendering, especially on computers with older or integrated graphics processors that struggle with browser performance demands. You can always re-enable hardware acceleration later if you notice video playback performance decreases after disabling this particular setting.
Configure Windows ClearType text settings
ClearType is a built-in Windows feature that fine-tunes how fonts appear on LCD screens by adjusting sub-pixel rendering to make characters look smoother and sharper.
- Open the Windows Start menu, type ClearType in the search bar, and select Adjust ClearType text to launch the tuning wizard that walks you through calibration. From start to finish, this cleartype text settings configuration required minimal effort on my part and the entire process felt intuitive enough that even less technical users should find it manageable.
- The wizard displays several text samples side by side, and you should select whichever sample appears sharpest and most comfortable to read on each page.
Completing the ClearType calibration process typically takes less than two minutes and can dramatically improve how Chrome renders fonts by giving Windows better baseline anti-aliasing information.
- This fix proves particularly effective for users who recently connected a new external monitor or changed their screen resolution because those changes can reset ClearType optimization values.
- After completing the wizard, restart Chrome to ensure the browser picks up the freshly calibrated font smoothing settings from the operating system.
Reset Chrome flags for rendering
Chrome includes experimental flags that control advanced font rendering behavior, and incorrect flag settings can produce blurry or distorted text output across all websites.
- Type
chrome://flagsin the address bar, then use the search box at the top of the page to look for entries related to GPU rasterization and Accelerated 2D canvas. - Setting both of these flags to Default ensures that Chrome uses its standard rendering pipeline without any experimental modifications that might interfere with text display quality.
You should also search for a flag called LCD text antialiasing within the same flags page and confirm that it remains set to Default rather than disabled.
- After adjusting any flags, Chrome requires a full restart through the Relaunch button that appears at the bottom of the page to apply your configuration changes.
- Resetting flags to their default values eliminates a common source of blurry font rendering that occurs after Chrome updates modify or introduce new experimental features automatically.
Clear Chrome cache and browser data
Corrupted cached font files and outdated rendering data stored in Chrome can occasionally cause fuzzy or blurry text that persists across browsing sessions despite other fixes.
- Open Chrome Settings, navigate to Privacy and security, click Delete browsing data, select the Advanced tab, and check the boxes for cached images, files, and site data.
- Choosing the time range All time ensures that Chrome removes every potentially corrupted cache entry that might be contributing to your font display problems.
After clearing the cache, Chrome rebuilds its stored data from scratch the next time you visit each website, which forces fresh font rendering calculations.
- This process may cause slightly slower page loading for the first visit to each site, but subsequent visits return to normal speed once Chrome caches the updated data.
- Clearing cached data regularly also helps prevent accumulation of outdated rendering instructions that can degrade text clarity over time as Chrome receives frequent browser updates.
Update Chrome and graphics drivers
Running an outdated version of Chrome or using obsolete graphics drivers creates compatibility gaps that frequently manifest as blurry or fuzzy font rendering issues.
- Open Chrome, click the three-dot menu in the upper right corner, select Help, and then click About Google Chrome to check for and install any available updates.
- Chrome typically downloads updates automatically in the background, but manually triggering the check ensures you have the latest font rendering improvements and bug fixes applied.
You should also update your graphics card drivers through either Windows Update, the manufacturer’s website, or dedicated software like NVIDIA GeForce Experience or AMD Radeon Software Adrenalin.
- Outdated GPU drivers can cause the graphics processor to handle Chrome’s font rendering requests incorrectly, resulting in text that appears blurry, pixelated, or inconsistently smoothed.
- Keeping both Chrome and your graphics drivers current provides the best foundation for optimal system performance and sharp text display across all applications.
Frequently Asked Questions
Why does Chrome make fonts look blurry?
Chrome fonts appear blurry when there is a conflict between Windows display scaling settings, hardware acceleration configuration, and the browser’s internal rendering pipeline preferences. High DPI monitors running non-standard scaling percentages are especially prone to this issue because Chrome may apply its own scaling calculation on top of the operating system’s existing adjustments. Disabling hardware acceleration and overriding DPI scaling behavior through Chrome’s compatibility settings resolves the problem for the vast majority of affected Windows users.
Does hardware acceleration cause blurry fonts?
Hardware acceleration can indeed cause blurry or fuzzy fonts in Chrome because the GPU may process text rendering differently than the CPU-based software renderer handles it. Older or integrated graphics processors sometimes lack the precision required for sharp sub-pixel font rendering, which produces visibly blurry characters across website content. Toggling off hardware acceleration in Chrome’s system settings forces the browser to use CPU-based rendering, which often produces noticeably clearer text output.
How do I fix fuzzy text after a Windows update?
Windows updates occasionally reset ClearType calibration values, change display scaling percentages, or update graphics drivers in ways that affect how Chrome renders fonts on screen. You should re-run the ClearType text tuner from Windows Settings, verify your display scaling percentage matches your monitor’s recommended configuration, and confirm that Chrome’s DPI override settings remain intact. Performing these three checks after every major Windows update ensures that Chrome continues displaying sharp, readable fonts without unexpected rendering degradation.
Conclusion
Blurry or fuzzy fonts in Chrome typically result from display scaling conflicts, hardware acceleration issues, outdated ClearType calibration, or corrupted cache data that interferes with proper rendering. Working through each troubleshooting step in this article systematically ensures you identify and resolve the specific cause affecting your particular system configuration and display setup. Starting with the DPI scaling override and hardware acceleration toggle addresses the two most common root causes, while ClearType calibration and cache clearing handle the remaining edge cases effectively.