“My Windows 11 computer keeps showing the wrong time, and it’s causing problems with scheduled meetings and file timestamps. The automatic time sync doesn’t seem to be working properly, and I need to fix this issue quickly for our business operations.”
This common scenario affects many organizations where accurate system time is essential for logging, security certificates, and coordinated business activities across different time zones.
Problem identification and manual sync solutions
Incorrect system time in Windows 11 can disrupt business operations, cause authentication failures with security certificates, and create confusion in collaborative environments. When automatic time synchronization fails due to network restrictions, firewall settings, or server connectivity issues, manual intervention becomes necessary to maintain accurate timekeeping across your organization.
In this post we will go ahead and show multiple methods to manually synchronize your Windows 11 system clock, including Settings app configuration and Command Prompt operations. You’ll learn to configure time servers, force immediate synchronization, and establish reliable backup time sources for consistent accuracy.
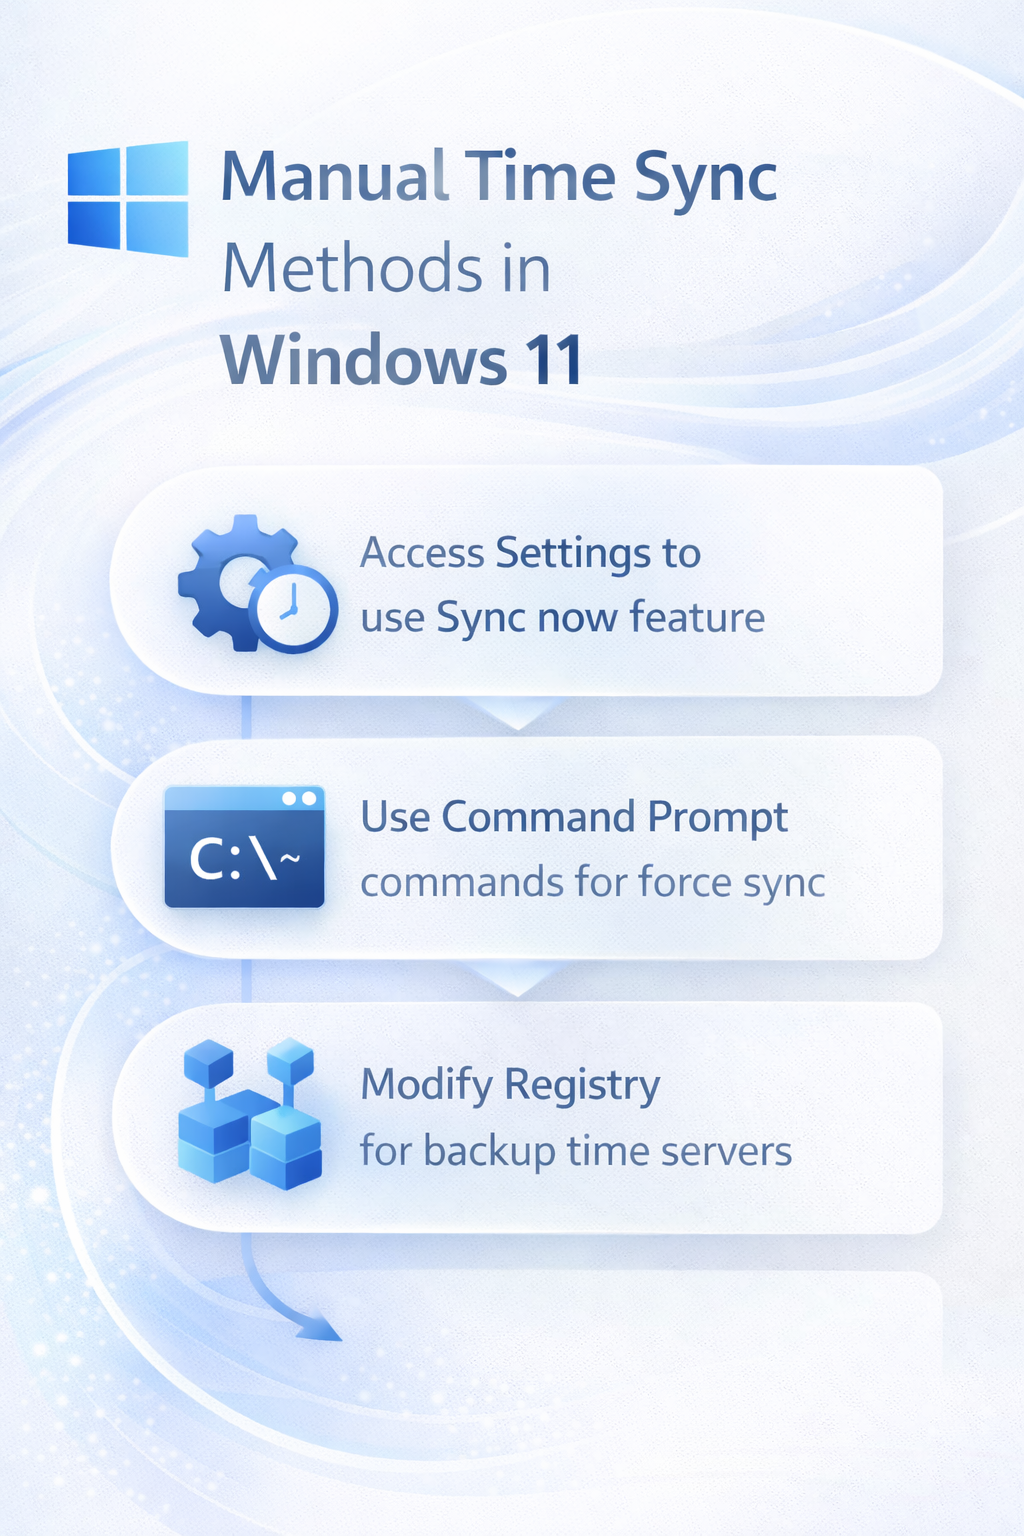
Windows 11 time synchronization through Settings app
The most straightforward approach to manually sync your Windows 11 system time involves accessing the built-in Settings application where you can configure automatic synchronization and manually trigger time updates when needed.
- Navigate to Settings by clicking the Start button and selecting the gear icon, or press Windows key + I to open the Settings app directly.
- Select “Time & language” from the left sidebar menu, then click on “Date & time” to access all time-related configuration options for your system.
- Locate the “Sync now” button under the “Additional settings” section and click it to force an immediate time synchronization with your configured time server.
- If synchronization fails, toggle off “Set time automatically” temporarily, then toggle it back on to refresh the connection with your time server.
- Click “Change” next to “Time zone” to verify your location settings are correct, as incorrect time zone configuration can cause persistent time display issues.
Expert Tip: If the sync button appears grayed out, your system may be experiencing network connectivity issues or your organization’s firewall might be blocking time server access.
Advanced Settings configuration options
- Access advanced time settings by clicking “Additional clocks” or searching for “Internet Time” in the Start menu to open the classic Date and Time control panel.
- Click the “Internet Time” tab in the Date and Time Properties window, then select “Change settings” to modify your time server configuration manually.
- Choose a different time server from the dropdown menu or enter a custom server address such as time.windows.com, pool.ntp.org, or your organization’s internal time server.
- Check “Synchronize with an Internet time server” to ensure automatic synchronization remains enabled, then click “Update now” to test the connection immediately.
Command line time synchronization methods
Windows 11 provides powerful command-line tools for manual time synchronization that offer more control and diagnostic capabilities than the graphical interface options available through Settings.
- Open Command Prompt as administrator by right-clicking the Start button, selecting “Terminal (Admin)” or “Command Prompt (Admin)” from the context menu that appears.
- Execute the command
w32tm /resyncto force immediate synchronization with your currently configured time server and display the synchronization results in real-time. - Use
w32tm /query /statusto check your current time service configuration, including the active time source, polling interval, and last successful synchronization timestamp. - Configure a new time server manually by running
w32tm /config /manualpeerlist:"pool.ntp.org" /syncfromflags:manual /reliable:yes /updateto establish reliable time synchronization. - Restart the Windows Time service using
net stop w32timefollowed bynet start w32timeto apply configuration changes and ensure proper service operation.
Important Tip: Always run time synchronization commands with administrator privileges to avoid permission errors and ensure proper system-level time updates.
Troubleshooting common time sync issues
Several factors can prevent successful time synchronization in Windows 11, requiring systematic diagnosis and resolution to restore proper automatic time management functionality across your system.
- Network connectivity problems often prevent time synchronization, so verify internet access by opening a web browser and navigating to a reliable website before attempting manual sync operations.
- Firewall restrictions may block outbound connections to time servers on port 123, requiring you to check Windows Defender Firewall settings or contact your network administrator for proper configuration.
- Windows Time service failures can cause persistent sync issues, resolved by opening Services management console, locating “Windows Time” service, and restarting it manually to restore functionality.