“I need to present a training video during our next Teams meeting, but when I shared my screen last time, nobody could hear the audio. How can I make sure both the video and sound come through clearly when I’m presenting? Our team is spread across different locations, so it’s important that everyone gets the full experience.”
Sharing video with audio challenges in Teams meetings
When presenting multimedia content in Teams, many users face audio sharing difficulties. While the video displays perfectly, participants often can’t hear sound – similar to common Teams audio sharing issues that can disrupt presentations. This happens because Teams doesn’t automatically share your system audio when you share your screen. For effective training sessions, product demos, or video presentations, both visual and audio elements must reach your audience.
Enable sound when sharing videos in Teams
Before your next presentation, you’ll need to understand how to properly configure Teams to transmit both video and audio. This tutorial covers the process for sharing system audio along with your screen content. You’ll need a Microsoft Teams account with an active meeting and multimedia content (like a video) ready to share. The methods work for both the desktop application and web versions of Teams, though some features may vary slightly.
How to enable computer audio in Teams meetings?
- Start your Teams meeting by either joining a scheduled meeting or creating a new one, ensuring your microphone and speakers are properly connected and functioning before proceeding with any presentation.
- Click on the “Share content” button located in the meeting controls at the top of your screen, which appears as a rectangle with an arrow pointing upward, opening the sharing options panel.
- Look for the “Include computer sound” toggle at the top of the sharing options panel and make sure to enable this option by clicking on it until it turns blue, which is essential for transmitting audio.
- Select what you want to share from the available options, choosing either “Screen” to share your entire desktop, “Window” to share a specific application, or “PowerPoint Live” for presentations.
- For optimal video playback, consider selecting the specific window where your video will play rather than sharing your entire screen, as this focuses participants’ attention and often provides better performance.
- Begin playing your video content after sharing has started, adjusting the volume appropriately. For optimal results, you can follow the same best practices used when presenting PowerPoint in Teams meetings, like selecting specific windows rather than sharing your entire screen.
- Monitor the chat for feedback about audio quality during your presentation, as participants may indicate if they’re having trouble hearing the sound or if adjustments are needed.
- When finished sharing, click the “Stop sharing” button at the top of your screen to end the presentation and return to the normal meeting view.
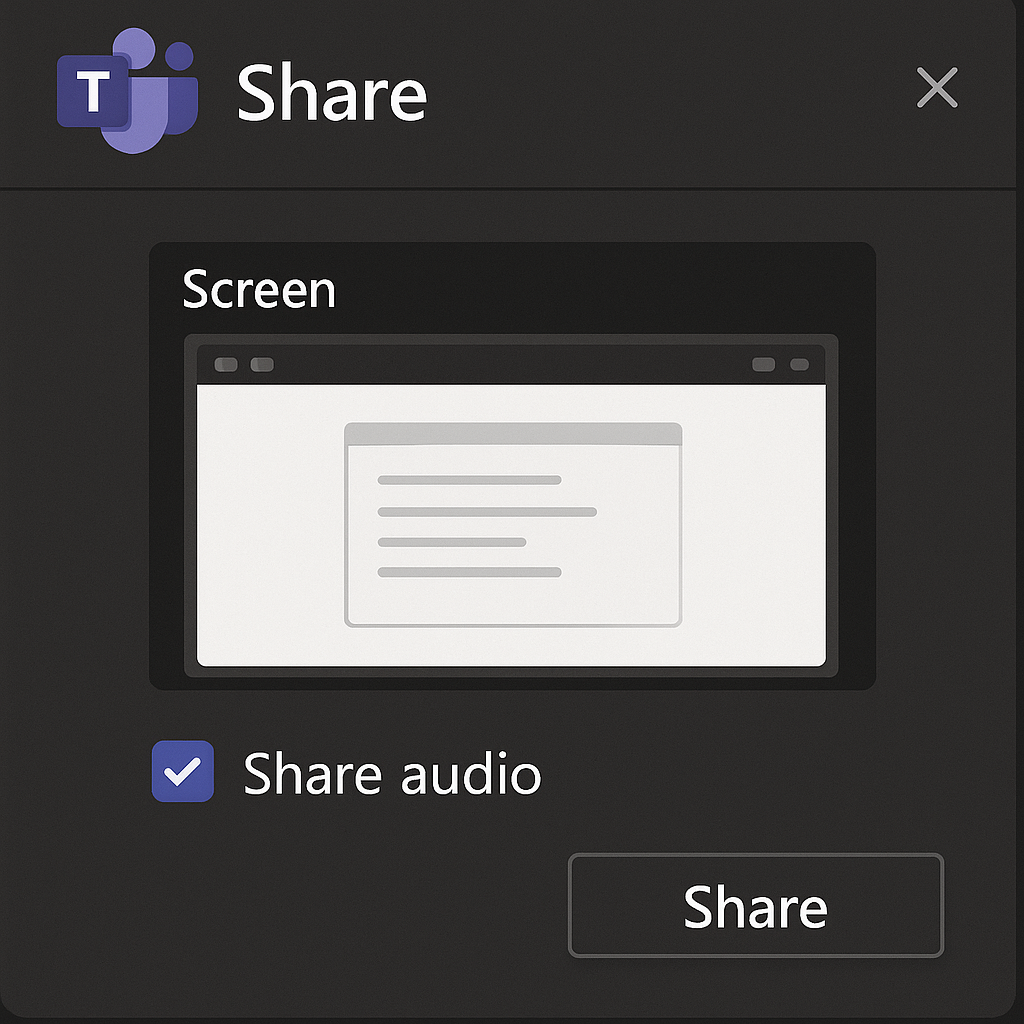
System audio issues in Teams meeting
- If participants can’t hear your audio despite enabling the “Include computer sound” option, try stopping your share, checking that your computer’s volume is turned up, and restarting the sharing process with the audio toggle definitely enabled.
- When experiencing audio delay or synchronization issues between video and sound, consider closing unnecessary applications running in the background to free up system resources and ensure smoother playback during your Teams meeting.
- For Mac users encountering difficulties with audio sharing, you may need to grant additional permissions to Microsoft Teams in your System Preferences under Security & Privacy, allowing the application to record your computer’s screen and audio.
- If you’re using an older version of Teams that doesn’t support audio sharing, update your Teams application to the latest version through your Microsoft 365 admin center or by checking for updates within the application itself.
- When sharing videos from streaming services like YouTube or Netflix, be aware that some content protection mechanisms might interfere with audio sharing, so consider downloading the video beforehand if possible and playing it locally.
Pro tip: For important presentations, always perform a test run with a colleague before your actual meeting to confirm that both video and audio are sharing correctly.
Optimizing Video Playback Across Different Teams Platforms
The video sharing experience varies slightly between Teams desktop, web, and mobile applications. Desktop users have the most reliable audio sharing capabilities and should be your primary choice for presenting video content. If you’re using Teams in a web browser, ensure you’re accessing it through Microsoft Edge or Google Chrome, as these browsers provide the best compatibility with system audio sharing features. Safari users on macOS may encounter additional permission prompts. Mobile Teams apps (iOS and Android) have limited screen sharing capabilities and generally don’t support system audio sharing, making them unsuitable for video presentations with sound.
Choose the correct Teams audio-sharing control
On the Teams desktop app, select Share and turn on Include sound before choosing the window or screen. Participants will hear system audio, including notifications, so close messaging and media apps that should remain private. On Windows, Teams and the operating system should use the same speaker output. A mismatch can make the presenter hear the video while attendees receive silence.
Handle Mac and browser sharing correctly
On a Mac, Teams may require its current audio driver for system-audio sharing. Install it only through the Teams prompt or Microsoft’s documented link, then restart when requested. If the control is unavailable after installation, update Teams and test again with a short local video.
In Teams for web, the browser sharing dialog controls audio. A browser tab can share that tab’s audio; a window or entire screen may offer system audio depending on the supported browser and platform. Confirm the audio toggle in both Teams and the browser dialog instead of assuming one switch covers both.
Test playback before the real presentation
Join a short test meeting with a second device using headphones. Share the exact window or tab, play 20 seconds, and ask the second device to confirm volume and synchronization. Keep only one active microphone and speaker in the room to prevent echo. Close unnecessary applications because heavy CPU use can cause shared sound to lag or cut out.
If attendees report choppy audio, open Call health, stop camera video temporarily, and compare a window share with a tab share. Capture the platform, Teams version, selected speaker, share type, Include sound state, and whether local playback is audible. For protected streaming content, honor digital-rights and organizational policies; a blank or silent share may be an intentional content restriction rather than a Teams fault.
Stop sharing when playback ends and verify that private system audio is no longer being transmitted.