Why are my Outlook calendar times not starting early enough?
I recently started an early morning workout routine before heading to the office, but my Outlook calendar doesn’t show time slots before 8:00 AM. This makes it difficult to schedule my 6:00 AM training sessions and track my morning activities. I need to customize my calendar to display earlier start times and adjust the time increments to better manage my packed schedule. How can I change my Outlook calendar time settings to better accommodate my day?
Customizing Outlook calendar time ranges
The default time settings in Outlook calendars often don’t align with many professionals’ actual work schedules. Early risers who begin their day at 6 AM or professionals working with colleagues across multiple time zones need visibility into earlier hours. Similarly, those who work late may need to extend their calendar view to 8 PM or later. These restrictions can create scheduling blind spots, making it difficult to efficiently plan your day or visualize your complete schedule at a glance.
For professionals managing busy schedules, proper calendar configuration is essential. While learning to copy meetings and appointments in Outlook can help with scheduling, customizing your calendar view is crucial for efficient time management.
Modify Outlook calendar time increments and display ranges
Outlook allows you to customize both when your calendar day begins and ends, as well as the time increments displayed (15 or 30-minute intervals). This tutorial will walk you through changing your calendar’s time range and adjusting the time slot increments. These modifications work in Outlook for Microsoft 365, Outlook 2021, Outlook 2019, and Outlook for the web, though some menu locations might vary slightly between versions.
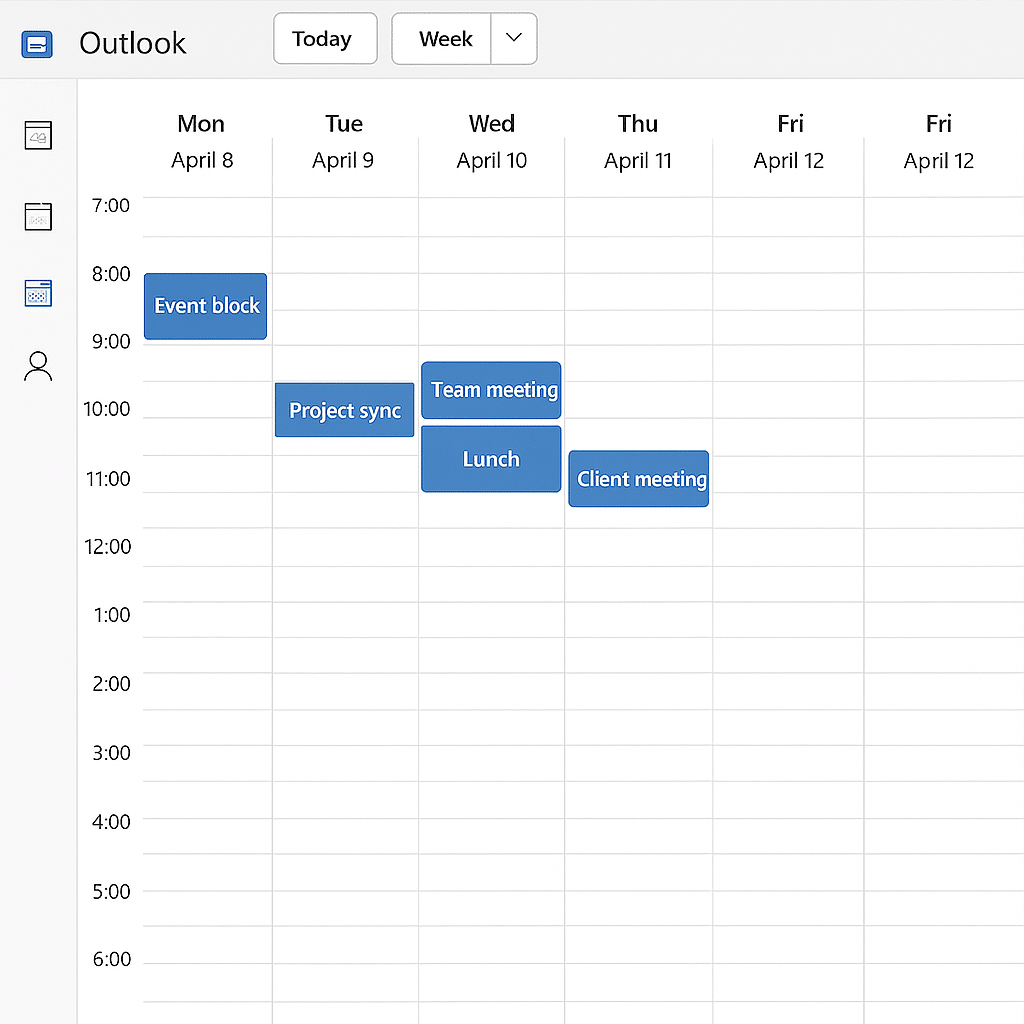
Adjusting your Outlook calendar view to start at 6 AM
Changing the calendar start time to 6 AM in Outlook desktop application
- Navigate to the Calendar view in Outlook by clicking on the Calendar icon in the navigation pane at the bottom left of your Outlook window.
- Click on the “View” tab in the Outlook ribbon at the top of the screen to access various display options for your calendar.
- Look for the “Work Week” section in the ribbon and click on “Work Week” to ensure you’re in the appropriate view before making time adjustments.
- Within the “Arrangement” group on the View tab, click on “Calendar Settings” or “Options” (depending on your Outlook version) to access the calendar configuration dialog box.
- In the Calendar Options dialog box, locate the “Calendar work hours” section where you can specify when your work day begins and ends.
- Change the start time dropdown menu from the default setting to “6:00 AM” to ensure your calendar displays from this earlier hour.
- If you work later, you can also adjust the end time setting to “8:00 PM” or whatever end time accommodates your schedule.
- Click “OK” to apply these changes to your calendar view, which should now display from 6:00 AM onward.
Setting Outlook calendar to display 15 or 30 minute intervals
- Return to the Calendar view in Outlook and again access the “View” tab in the ribbon at the top of your screen.
- Look for the “Time Scale” option in the Arrangement group, which controls how time increments are displayed in your calendar.
- Click on the “Time Scale” dropdown menu to reveal the available time increment options for your calendar view.
- Select either “15 minutes” for more detailed scheduling or “30 minutes” for a more condensed view depending on your scheduling needs.
- The calendar will immediately update to display time slots according to your selected increment, showing either four 15-minute blocks or two 30-minute blocks per hour.
- For even finer control, you can right-click directly on the time scale in your calendar view and select your preferred time increment from the context menu.
Pro tip: Consider creating several different calendar views for different purposes by using the “Save Current View As a New View” option. This allows you to have one view optimized for early morning planning with 15-minute increments and another for general scheduling with 30-minute blocks.
Changing Outlook calendar start time in Outlook for the web
- Sign in to Outlook on the web and click on the Calendar icon in the navigation pane.
- Click on the gear icon (Settings) in the upper right corner of the screen to access Outlook settings.
- Select “View all Outlook settings” at the bottom of the settings panel to open the complete settings menu.
- Navigate to “Calendar” and then “Calendar appearance” in the settings menu to access time display options.
- Under “Start week on” section, locate the “Start time” and “End time” dropdown menus to adjust your calendar’s displayed hours.
- Change the start time to “6:00 AM” and adjust the end time to “8:00 PM” if needed for your schedule.
- Click “Save” at the bottom of the settings panel to apply your changes to the calendar view.

19:22
Cross-Platform Considerations
Outlook Mobile App Time Settings
The Outlook mobile app for iOS and Android automatically inherits time range settings from your desktop or web configuration, but the time scale display differs significantly. Mobile views default to a scrollable all-day format rather than fixed increments, meaning you’ll see continuous time slots from your configured start time through end time. To verify your settings synced correctly, open the mobile app’s calendar view and scroll to the earliest hours—your 6:00 AM start time should appear at the top of the day view.
Outlook Desktop vs. Outlook for Mac
Mac users will find calendar time settings under Outlook > Preferences > Calendar > Calendar Options rather than the View tab. The functionality remains identical, but the “Work Week” configuration on Mac includes an additional “Show time as” option that affects how your availability appears to meeting organizers. Windows desktop users have more granular control over time scale visibility through right-click context menus, while Mac users must access preferences each time.
Outlook calendar time adjustment issues
- If your changes aren’t appearing after adjusting the settings, try switching between different calendar views (Day, Work Week, Week) before returning to your preferred view, as this often refreshes the display with your new time settings.
- Users who have administrator-controlled Outlook profiles may encounter restrictions preventing calendar customization, requiring you to contact your IT department to request these changes be enabled for your account.
- When attempting to schedule meetings outside your visible calendar hours, Outlook may still allow it but display warning messages – simply proceed with creating the appointment even if the time slot isn’t visible in your current view.
- If you’re experiencing issues with calendar synchronization after making these changes, you may need to check if Outlook is offline or disconnected and resolve any connectivity issues first.
- If your calendar shows incorrect time increments despite setting 15 or 30-minute intervals, check whether you have any add-ins enabled that might be overriding your calendar display settings or restart Outlook completely to ensure settings are properly applied.
- For recurring meetings that appear incorrectly after changing time increments, you may need to edit and resave these recurring appointments to ensure they display properly with your new time interval settings.
Know which calendar setting you are changing
Outlook exposes several time controls that solve different problems. Time scale changes the visual grid, such as 5, 10, 15, 30, or 60-minute rows. Work hours define the portion of the day treated as normal availability. Time zone changes how absolute meeting times are displayed.
In new Outlook, classic Outlook, and Outlook on the web, open Calendar, choose View, and look for Time scale. In Day, Work week, or Week view, you may also be able to right-click the time bar. Choose a smaller increment for detailed scheduling or a larger one for a compact day overview.
Avoid mistaking the grid for booking rules
A 30-minute grid does not prevent a 20-minute meeting. Enter start and end times when creating the event. Likewise, changing work hours does not decline meetings outside those hours; it changes how availability is represented to you and others. Organization policies and booking systems may impose separate limits.
If you display a second time zone, treat it as a visual reference. The event still represents one moment. Verify the primary mailbox zone before moving appointments, especially after travel or a daylight-saving transition.
Resolve inconsistent views across clients
- Confirm whether the user is in Day, Work week, Week, or Month view.
- Check the selected Time scale in each Outlook client.
- Verify browser zoom and operating-system display scaling.
- Confirm the mailbox time zone and work hours separately.
- Restart Outlook or refresh the browser after a setting change.
- Test the same calendar and account in Outlook on the web.
- Record whether the setting is client-local or follows the account.
Mobile Outlook uses a touch-focused calendar and may not offer the same grid intervals as desktop or web. Do not promise pixel-for-pixel consistency across Windows, macOS, web, iOS, and Android.
After changing the interval, create a event with an unusual duration, such as 25 minutes. Confirm that Outlook displays the exact start and end time even if the event does not align neatly with the visible grid. Delete the test afterward. This proves the change affected the view rather than the stored appointment.